
How to get started in Field Target Competition….
Field Target competition shooting is awesome. I highly recommend it to any airgun shooter, no matter your level of skill or experience. Most matches make provisions for newer or junior shooters with less challenging shots, and you’ll find that the more seasoned competitors are always willing to lend a hand. Still, there are a few things you should know and a few pieces of equipment you’ll probably want to acquire before your first field target match.
First of all, what is field target anyway? Basically, field target is an unknown distance course intended to simulate hunting. The targets are steel knock-down targets similar to steel silhouettes. These targets differ because they have a “kill zone” that must be hit to knock down the target. Any hits on the target not in the kill zone will not knock it down. These kill zones range in size from 3/8” to 2”, and they’re put at distances of 10 – 55 yards.

There are a few classes in field target. These include WFTF, Hunter, and Open. They all have specific rules. You can learn more about the structure, classes, and rules at the AAFTA website. For a beginner I would recommend Hunter Class, and that is the class that I will be writing about today. This is broken down even further by powerplant…either PCP or Springer. Either powerplant can be used in any class, but in Hunter Class…the power limit of the gun has to be less than 20fpe. If you do not have a gun capable of staying at or under this limit…that is the first thing you will need.
The next thing you will need is a scope with mil dots or some other type of graduations on the reticle with adjustable parallax. Side wheel parallax adjustment is preferable to Adjustable Objective (AO), but either will work. You need the mil dots because one of the rules in Hunter Class is that you may not adjust your scope turrets during the match. You must use “holdover” provided by the graduations on the reticle to account for your changing POI at different distances, and also to account for windage.
The parallax adjustment on the scope is crucial. The only tools you may use in any field target match to “range” a target (determine it’s distance) are your eyes and your scope. The scope is the better option, and this is achieved most easily and accurately by using parallax. I’ll spare you the lesson in optics, but basically “parallax” is an apparent shift in an object’s position when viewed from different locations. For our purposes, we do not want parallax. We want to destroy all of the parallax. We achieve this by making adjustments to our parallax wheel. One of the greatest benefits of doing this is that if you mark your parallax wheel very carefully, and especially if you use a large wheel for your parallax adjustment, you can fairly accurately gauge distance in your scope. I could go on about this subject for quite some time, but the quick version is that you want to go to a known distance course, adjust your scope to a target at a specific range until it is perfectly clear and the reticle does not move if you move your eye, then make a mark on your wheel showing that yardage. Repeat this for every yardage you can between 10 and 55 yards.

The next thing you’ll need is a “dope chart.” No, this does not rank the best strains of the Mary Jane on the market today. A dope chart can be a written card or even an illustration or drawing telling you what graduation in your reticle to use for a specific distance. You determine this by shooting at a known distance course, noting where your pellets are striking the target when you hold the crosshairs dead on a specific point, and counting the number of mil dots or hash marks your pellet has risen or dropped from that point. The more time you spend making this chart and your parallax wheel, the better you will score.

Now you will need something to sit on. In Hunter Class, you may have any seat you want as long as it doesn’t have any arms or a back. Most people use a 5 gallon bucket, though many small folding stools and other things are also used. As you can see in the picture below, I added some foam to the lid of my 3 gallon bucket for the ultimate in field comfort. It’s not uncommon to see buckets covered in stickers, and even painted. Let us not forget that the most important part of any shooting competition is looking your best. Add some flare to your rig. Represent!

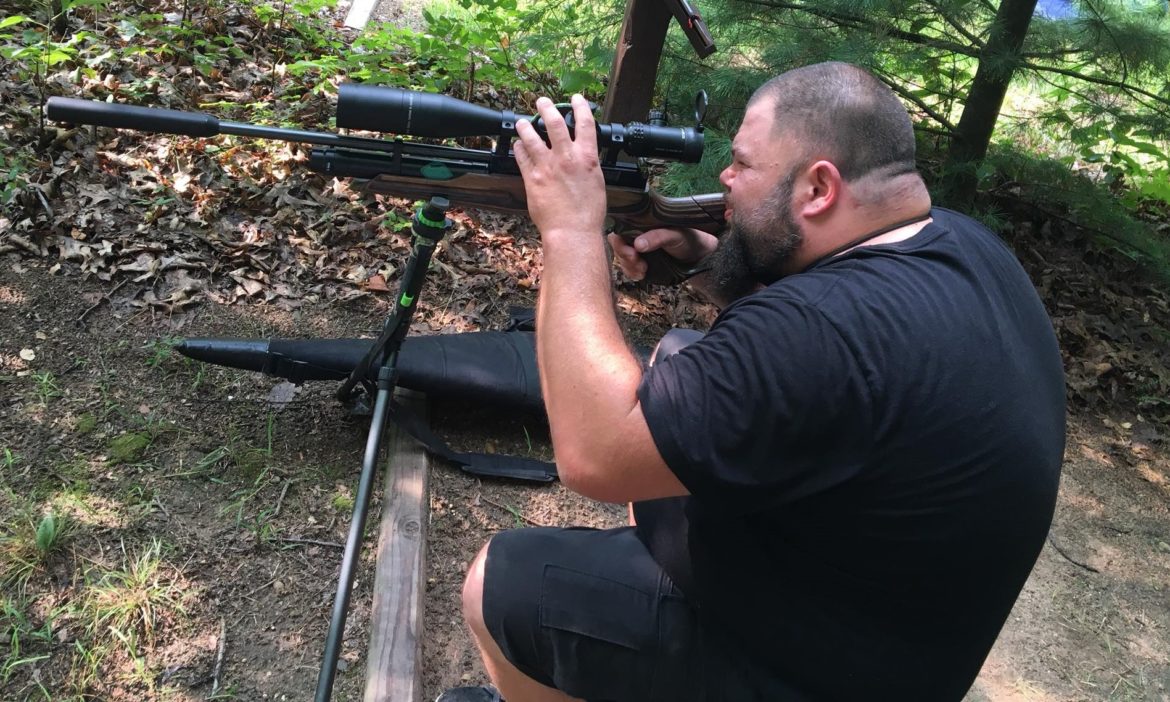
The last absolutely necessary piece of equipment you’ll need is some shooting sticks. These may only have one or two legs. Most opt for the bipod version, as it’s more stable. My first set of sticks was literally a set of sticks. Well, a couple of 3/4” x 1 ½” boards with a bolt holding them together. They worked wonderfully until I obtained some fancy Primos trigger adjustable shooting sticks. If all you have is a couple of pieces of wood and a bolt….use it. It’ll work great. You can see my actual first set, as well as my new fancy set, in the picture below. Most lanes will be shot from your bucket and sticks, but there are usually two “forced position” lanes in a match. These lanes, you are forced to shoot from the standing off-hand position and/or the kneeling position. I suggest you practice these positions as well as from the sticks.

While that’s just about everything that you need to have, there are also a few items I would recommend that aren’t quite as necessary…but still nice to have. The first is bug spray. There’s nothing worse than trying to mind your shooting fundamentals while something is biting you or making close buzzing passes by your ear. Sunscreen is also a good idea for a match in a field (as opposed to in the sheltered woods). Another nice thing to have is a pellet holder that is quickly accessible and won’t dump them out everywhere.
While there is much more to it than I have touched upon, this should be enough to get you going. Like I said earlier, the more seasoned shooters are always willing to help out and show you the ropes. Don’t be afraid to come because you think you’re unprepared. This is my second year shooting field target, and I’m STILL not fully prepared. If you’re in Ohio, check out the Northeast Ohio Airgunners website. It’s a great group of people, and they run a wicked good match every time. June 15th is the Midwest Airgun Show in Columbus, OH…and June 16th is the corresponding field target match. If you’ll be at the show, come the day after for the match. Even if you don’t shoot, come to watch and learn. I’d just bet that if you’re an airgunner, you’d enjoy the sport of field target. I do, and cannot recommend it highly enough.